How do you take good photos with a phone?
Set up your phone camera using the real menu names and use light properly to get sharp, clean shots.
Short answer
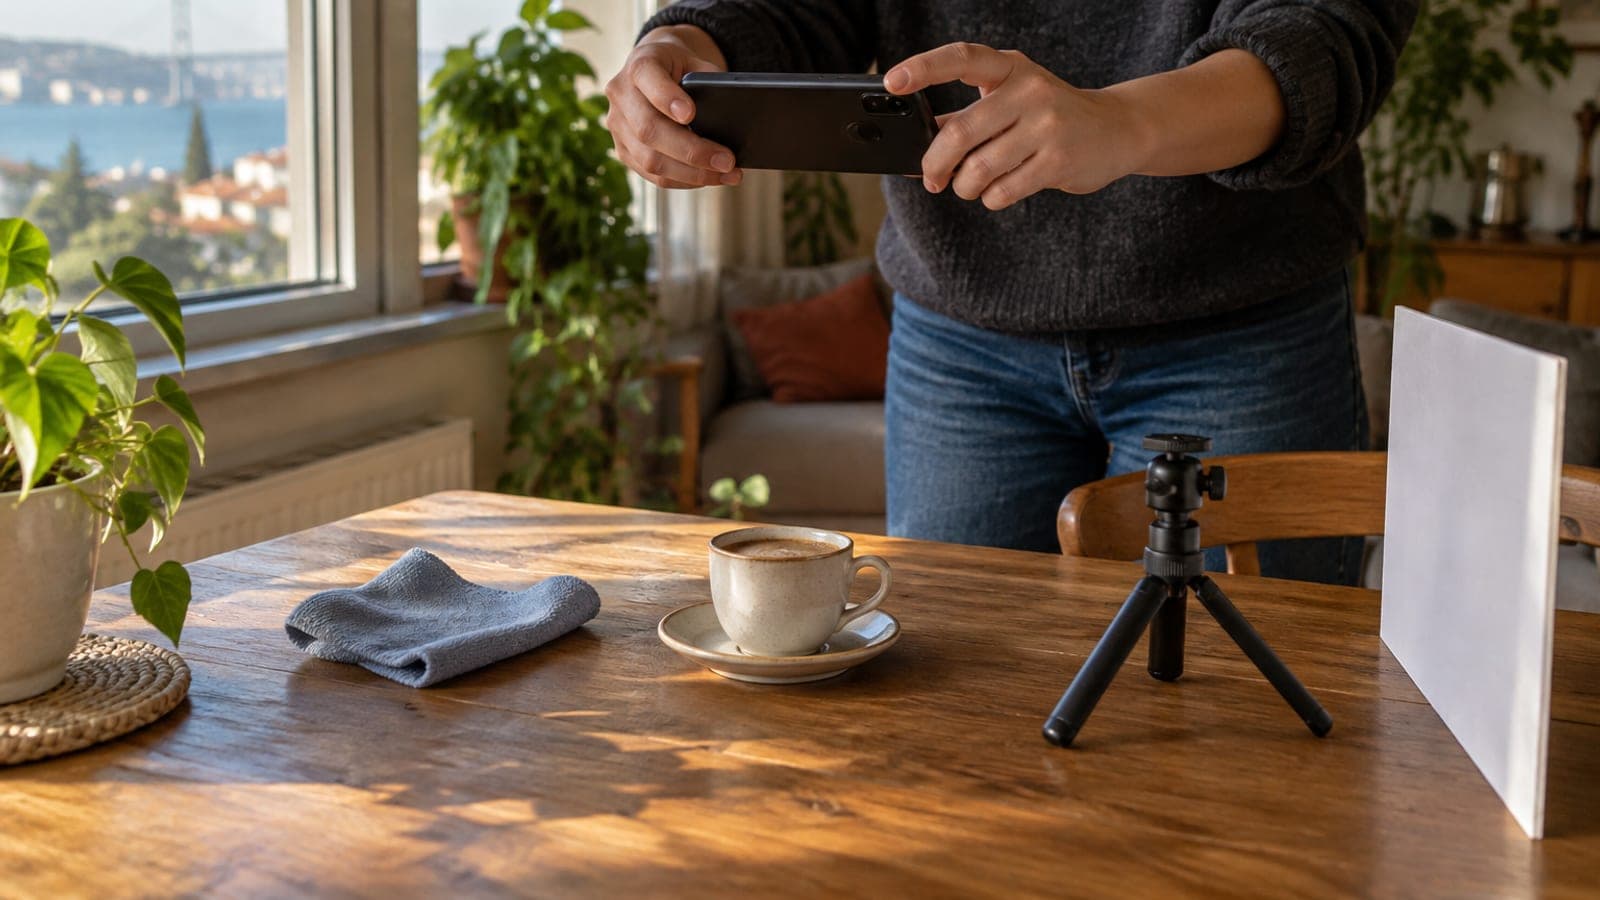
Wipe the lens with a microfiber cloth and turn on the highest photo size plus the grid. Shoot in daylight with the light coming from the side. Tap your subject on screen to lock focus, then drag the brightness slider slightly down. Tuck your elbows in, hold your breath and take 2-3 frames. Step closer instead of zooming.
What you need
Step by step
Clean the lens
Turn the phone over and wipe the rear camera glass in small circles with a microfiber cloth for 10-15 seconds. Pocket dust and fingerprints create a hazy blur and rings around light sources. Do not use wet wipes or saliva, they damage the coating.
Open the camera settings
On Android, open the Camera app, go to Settings (gear) > Picture size and pick the highest ratio, then switch on Grid lines. On iPhone, go to Settings > Camera > Grid and turn it on, and under Formats choose High Efficiency or Most Compatible. The grid helps you keep the horizon level.
Put the light to your side, not behind you
Place your subject 1-1.5 metres from a window with the light hitting from about 45 degrees to the side. If the light source sits behind the subject, the face comes out dark. Outdoors, shoot before 9 a.m. or in the hour before sunset, and find shade under midday sun.
Set focus and exposure by hand
Tap once on the most important part of the subject, the eye in a portrait; a yellow square or circle appears. Drag the sun icon next to it down a notch so the sky and white surfaces do not blow out. On iPhone, press and hold the square until AE/AF Lock appears and the setting stays fixed.
Frame the shot and move closer
Line the subject up on one of the grid's vertical lines instead of leaving it dead centre. Take 1-2 steps closer rather than using digital zoom; anything past 2x softens detail. Check the background and keep bins, cables and clutter out of frame.
Steady the phone and shoot a burst
Tuck your elbows against your body, hold the phone with both hands, breathe out and stay still for 2 seconds. Press the shutter 2-3 times, or hold your finger down for a burst. In the dark, turn on Night mode and stay still for 3 seconds, ideally on a mini tripod.
Check the shot and retouch right away
Open the photo in your gallery and pinch to 100% to check sharpness. In Edit, use Crop/Rotate to straighten the horizon, then raise Light or Exposure about +5 and Contrast about +10. Go easy on saturation, it turns skin tones orange.
Tips
Watch out
The most common mistake is digital zoom: anything past 3x enlarges the image in software, detail disappears and the photo looks blotchy. Also avoid using the phone with wet hands or in sandy places; a single scratch on the lens glass leaves a permanent mark on every photo and repairs are expensive.
Frequently asked questions
+Is Portrait mode better than normal mode?
For people and pets, Portrait mode softens the background and looks more professional. With fine detail like cages, stray hair or glassware it cuts edges wrongly, so normal mode plus moving closer is safer.
+Why do my photos come out blurry?
Usually camera shake or wrong focus. Clean the lens, tap the subject on screen to lock focus, tuck your elbows against your body and hold your breath as you press the shutter.
+Should I shoot in RAW?
Yes if you will spend time editing; RAW gives more correction headroom but files are 3-5 times bigger and always need retouching. For everyday shots JPEG or HEIC is enough.
+Should I use the flash for night photos?
No, phone flash flattens faces and darkens the background. Turning on Night mode, holding the phone still for 3 seconds and using existing light like signs and street lamps works far better.
+Which app should I edit with?
Your phone's own Gallery or Photos editor handles most jobs. For more, Snapseed is free and its Selective tool under Tools lets you brighten just one area.
Sources and verification
Last verified: 13 Eylül 2026. tell us. Prices are given in Turkish lira; menu names follow the English-language Android and iOS interfaces.
This content is for information only; for official procedures the relevant institution’s current announcements take precedence. Details: disclaimer.