How do you service a bike chain and patch an inner tube?
Cleaning and oiling the chain without taking it off, then sealing a punctured tube with a patch, are two home jobs that total 40-50 minutes.
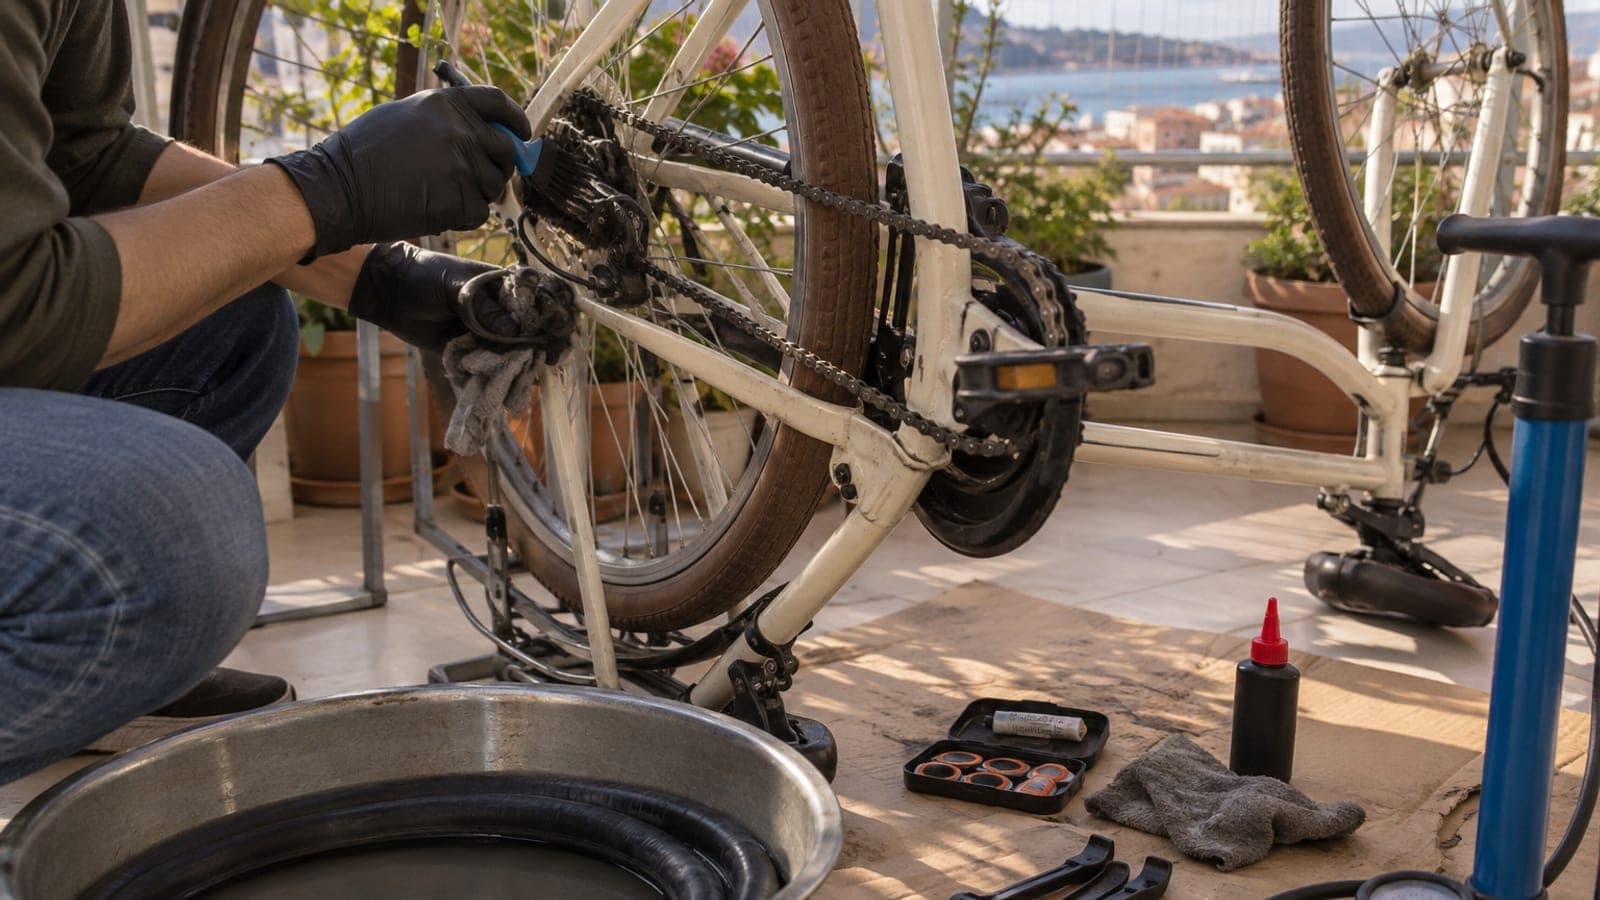
Short answer
Chain: scrub the links with a kerosene-dipped brush, wipe dry, put one drop of chain oil on each roller, wait 5 minutes, wipe off the excess. Flat: pull the tube out, inflate it to 2 bar, find the hole in a basin of water, sand around it, spread thin cement, let it dry 5 minutes, press the patch hard for 1 minute, then inflate to full pressure after 10 minutes.
What you need
Step by step
Check the chain and measure its stretch
Flip the bike over or set it in a repair stand. With a tape measure, measure from the centre of one pin to the centre of the pin 12 links along: a new chain reads 304.8 mm. If it is past 306.4 mm (10-11 speed) or 307.1 mm (8 speed and below), oiling will not help, replace the chain. A Park Tool CC-3.2 gauge does the same check in 5 seconds.
Brush the chain clean
Dip the brush in kerosene, pedal backwards so the chain runs through the bristles, and make 2-3 full turns. Scrape the packed grime from between the teeth of the derailleur pulleys with the toothbrush. Wipe the cassette too, pushing a cloth between the sprockets while you turn it. Then squeeze a dry cloth around the chain for two more turns and let it dry completely.
Put one drop of oil on every roller
Apply oil to the side gaps of the rollers on the lower run of the chain, not on top of the links. Turn the pedals slowly and give each roller a single drop until you complete one full loop. Wait 5 minutes so the oil wicks inside, then wipe the outside thoroughly with a cloth. Oil shining on the outside only attracts dust and wears the chain faster.
Remove the wheel and take out the tube
On V-brakes, squeeze the arms together with your fingers and unhook the cable noodle; on disc brakes leave the caliper alone. Open the quick release lever or loosen the nuts with a 15 mm spanner. At the rear, shift the chain onto the smallest sprocket and push the derailleur back to free the wheel. Open the valve cap and let all the air out.
Lever the tube out and find the hole
Insert both plastic levers between rim and tyre bead on the side opposite the valve, about 10 cm apart, and unseat one bead. Take the tube out, inflate it to 2 bar and press it into the basin of water: mark the spot where bubbles rise with chalk. Run a finger inside the tyre at the same position and pull out any glass or wire with tweezers.
Sand, glue and press the patch on
Rough up an area 3-4 cm across around the hole with sandpaper until it looks matt, then wipe the dust off. Spread the cement thinly and evenly over an area slightly larger than the patch and let it air-dry for 5 minutes; it should be matt and not tacky to the finger. Peel the foil off the patch, set it down from the centre outward and press hard with your thumb for 60 seconds. Wait 10 minutes.
Refit the tube and inflate to the right pressure
Put about 0.5 bar into the tube, seat the valve in the rim hole, lay the tube in the rim and push the tyre bead back on by hand; for the last 20 cm roll the bead in with your palms instead of forcing a lever. Use the pressure printed on the tyre sidewall: 700x28C road 6-6.5 bar, 700x38C city 4-4.5 bar, 26x2.1 mountain 2.2-2.8 bar.
Refit the wheel and test brakes and gears
Seat the wheel fully in the fork or rear dropouts, close the quick release with your palm until it leaves a mark, or torque axle nuts to 30-35 Nm. Reconnect the brake cable. Lift the bike and spin the wheel: it should not rub the pads or wobble. Then ride 20-30 metres slowly, shift through every gear in order and test both brakes twice.
Tips
Watch out
Forcing a tyre lever in on the last stretch of bead is the most common mistake: the lever pinches the tube between rim and tyre and cuts it, so it blows the moment you inflate. Always roll that last section on with your palms. Also keep oil and spray off disc rotors and brake pads; a contaminated pad will not brake and cannot be cleaned, it has to be replaced.
Frequently asked questions
+Is cleaning the chain without removing it enough?
Yes, for normal riding an in-place clean with a brush and kerosene is enough. You only need to remove the chain after very muddy rides or when replacing it, and a chain breaker tool is required if there is no quick link.
+How long does a patch last?
A properly applied vulcanised patch runs for thousands of kilometres, often outlasting the tube itself. But holes at the base of the valve or splits longer than 1 cm cannot be patched, so replace the tube.
+Can I use machine oil or WD-40 instead of chain oil?
No. Standard WD-40 spray is a penetrant, it does not lubricate and it strips the oil already in the chain. Machine oil is too thin and holds dust. A 100 ml bottle of chain oil lasts a full season.
+How do I tell which valve type I have?
Presta is slim with a small threaded nut at the tip; Schrader is the thicker one that looks like a car valve. Set the pump head accordingly, and loosen the Presta tip nut by hand before inflating.
+What if the flats keep coming back?
Usually a shard of glass or wire still stuck in the tyre, a worn rim tape, or riding constantly underinflated. Run a finger along the whole inside of the tyre and check that the rim tape still covers the spoke holes.
Sources and verification
Last verified: 13 Eylül 2026. tell us. Pressures are given in bar as printed on most European tyre sidewalls; multiply by 14.5 for psi. Chain wear limits assume a standard 1/2 inch pitch chain.
This content is for information only; for official procedures the relevant institution’s current announcements take precedence. Details: disclaimer.