How do you decide between Camera Raw and Lightroom?
Camera Raw is not required for every photo. Here are the three situations where it genuinely saves you time.
Short answer
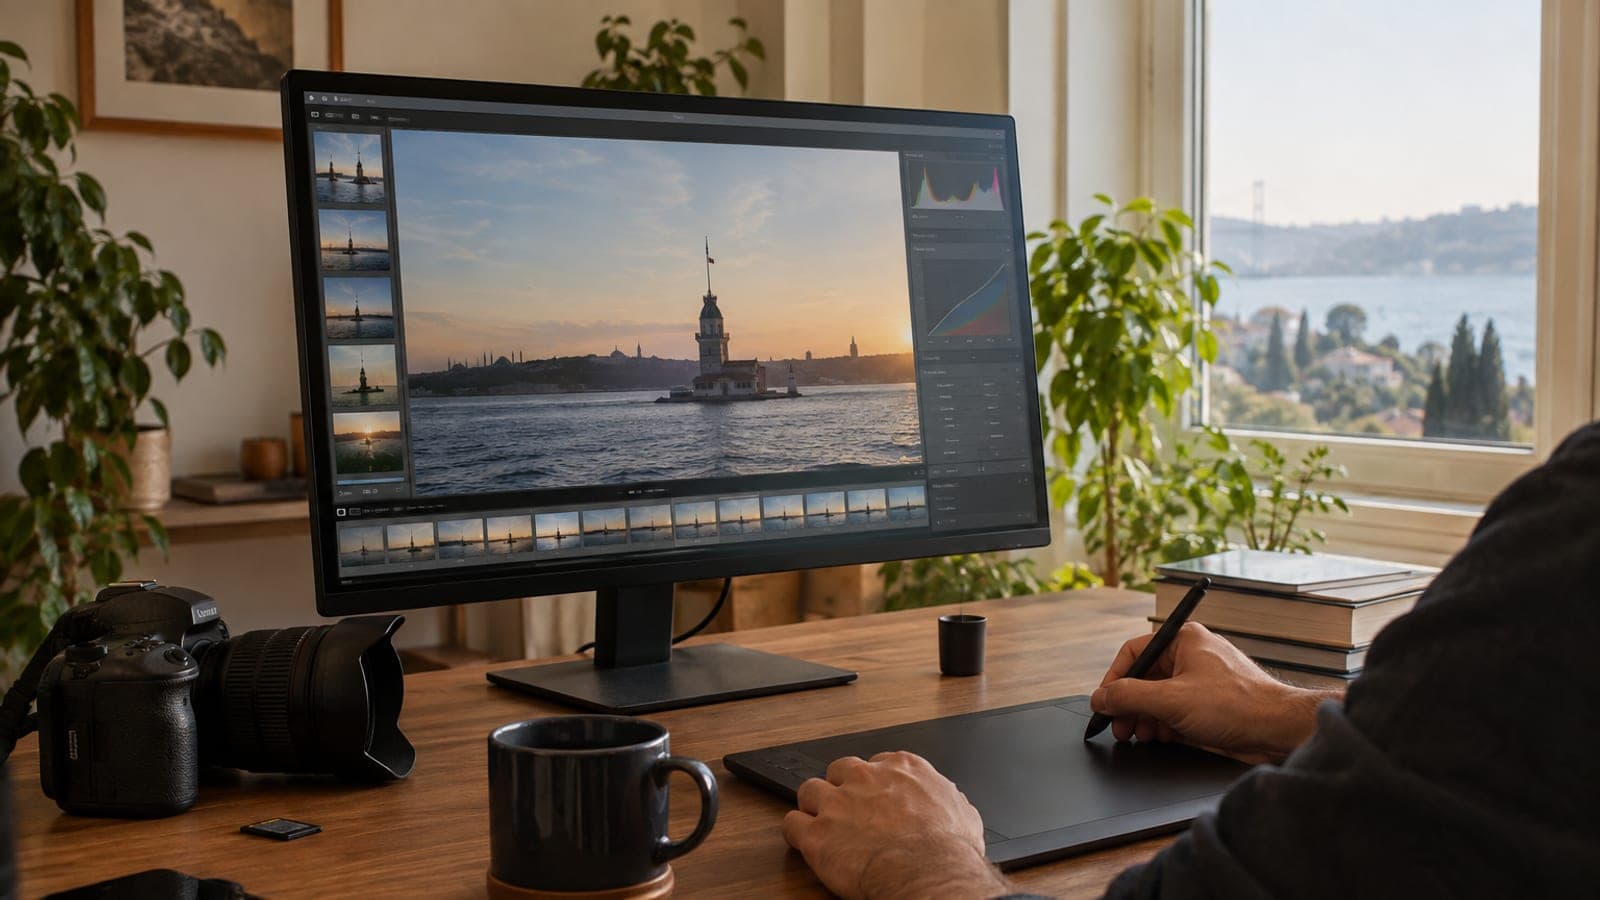
Open Camera Raw if most of your editing happens inside Photoshop, if you use Lightroom CC rather than Classic, or if you need to patch a small adjustment you missed in Lightroom. If none of those apply, stay in Lightroom. Camera Raw will only stretch out your editing time.
What you need
Step by step
Identify where you actually work
Ask which app you finish your photos in. If cropping, retouching, layers and effects mostly happen in Photoshop, Camera Raw makes sense. If your whole process starts and ends in Lightroom, skip Camera Raw entirely.
Open Camera Raw inside Photoshop
In Photoshop, choose File > Open and pick a RAW file; the Camera Raw window appears on its own. For JPEG or TIFF files, go to Filter > Camera Raw Filter instead. This keeps everything in one place without importing into Lightroom.
Choose Camera Raw for histogram editing
In Camera Raw you can click on regions of the histogram and drag them directly to adjust light levels. Lightroom CC has no equivalent. If you want consistent exposure across a set of frames, this alone is reason enough.
Turn on the grid overlay for precise alignment
Enable the grid overlay in Camera Raw's crop and transform tools. For horizon lines, architectural verticals and composition alignment, you work against real guides instead of eyeballing it.
Patch a missed Lightroom adjustment
If you finish an edit and then notice a setting you skipped, move the file into Photoshop and apply the small correction with Filter > Camera Raw Filter. Continue with your normal workflow instead of going back to square one in Lightroom.
Save presets and lock in your workflow
Save the corrections you use often as presets in Camera Raw so you can apply them in one click next time. Being clear about which app does what saves far more time than reaching for RAW by reflex.
Tips
Watch out
Applying the Camera Raw Filter directly to a pixel layer bakes the change in permanently with no way back. Duplicate the layer or convert it to a Smart Object first. Also, editing the same photo in both Lightroom and Camera Raw stacks the adjustments, which can push exposure somewhere you did not intend.
Frequently asked questions
+Do I have to shoot everything in RAW?
No. RAW gives you more editing room, but for everyday posts, test shots and simple records it wastes space and time. Switch to RAW when the job involves printing, heavy color work or difficult light.
+Is there a quality difference between Camera Raw and Lightroom?
In practice, no. Both use the same Adobe processing engine and largely the same sliders. The difference is workflow: Lightroom is stronger at library management, Camera Raw at staying inside Photoshop.
+Can I click and drag the histogram in Lightroom CC?
No, that feature exists in Camera Raw but not in Lightroom CC. If you want to manage light levels region by region on the histogram, you need Camera Raw.
+Do I pay extra for Camera Raw?
No. Camera Raw ships with Photoshop and the Adobe Photography plan. It is not a separately purchased add-on.
+Can I open JPEG files in Camera Raw?
Yes. Open the file in Photoshop and choose Filter > Camera Raw Filter. Just keep in mind that the recoverable tonal range in a JPEG is far narrower than in RAW.
Sources and verification
Last verified: 13 Eylül 2026. tell us.
This content is for information only; for official procedures the relevant institution’s current announcements take precedence. Details: disclaimer.